Who can resist rich and velvety cream cheese filling on a bed of crisp and buttery graham cracker crust? That’s what this recipe serves up. With the perfect balance of sweet, tart, and creamy, this cheesecake will blow your taste buds away. The filling is light and not overly sweet. Together with the crust, it creates a magnificent texture contrast that I can only describe as heavenly. Best of all, it only takes three steps to make it. Three! The hardest part about this recipe is waiting for the cheesecake to cool in the fridge before you can have a slice. Want to impress your family and friends with your mad baking skills? This Philadelphia 3-step cheesecake is the way to go. Let’s get baking!
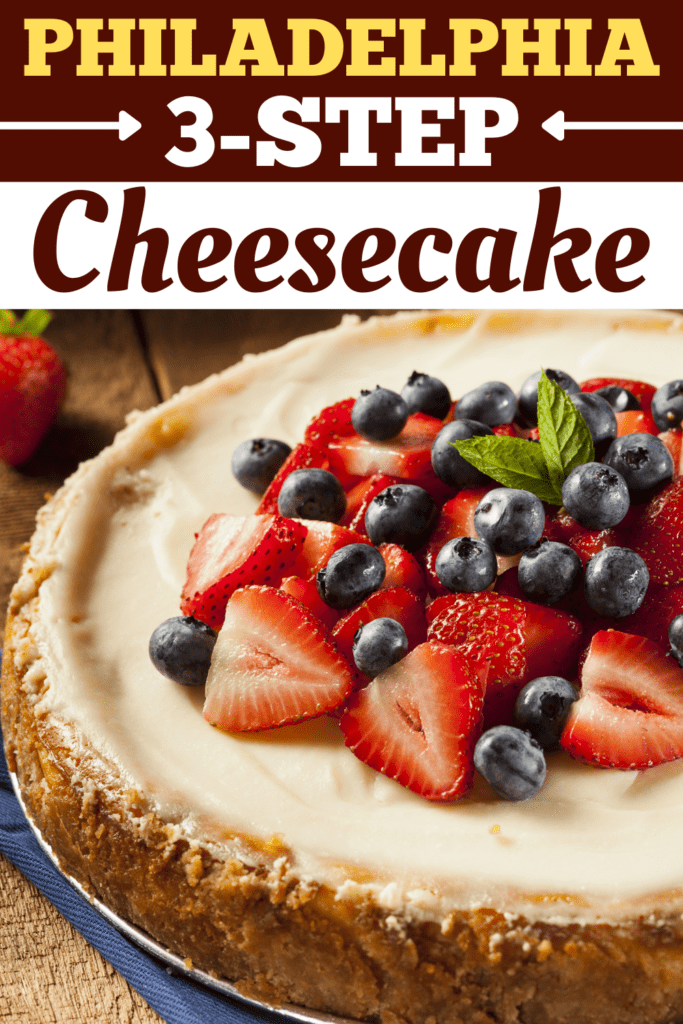
Philadelphia 3-Step Cheesecake
Beat, pour, and bake. That’s all you’ll need to create this creamy, luscious, and decadent cheesecake! With just a few ingredients and a pre-made crust, you can nail this easy-peasy, fool-proof recipe. While many people find baked cheesecake intimidating, it really isn’t all that difficult. In fact, I think it’s a lot easier than baking other pastries. Sure, there are several factors that could cause the cheesecake to crack, but just as long as you stick to my tips and tricks, you’ll be okay! Plus, even if it cracks, so what? You can always use toppings to cover up any imperfections! 🙂
Ingredients
Just 5 ingredients?! It seems impossible, but it’s true! These are the only things you need to make this ultra-creamy and creamy cheesecake.
- Cream Cheese – You’ll want to pick full-fat cream cheese for the ultimate creamy cheesecake. Use softened cream cheese for a lump-free cake.
- Sugar – To sweeten the tart cream cheese.
- Vanilla – To enhance the flavors of the cream cheese and sugar.
- Eggs – For binding the mixture and giving it structure. Bring them to room temperature before use! If you forget to take them out of the fridge beforehand, just dip them in warm water for 2 minutes, and they will warm right up. You’re welcome.
- Graham Cracker Crust. While you can definitely make your own, pre-made graham cracker crust will make your life a lot easier.
Tips for the Cheesecake
If you’re not using a pre-made crust, use a spring-form pan. That way, you won’t have a problem removing cheesecake slices.Want to avoid cracks? You can cook the cheesecake in a water bath to ensure that the top is silky smooth. This is highly recommended if you’re not using any toppings to cover up cheesecake flaws such as cracks, a depression in the center, and browning around the edges.
For the ice batch, simply place the pan in a larger pan and fill it with warm water half-way. It’s added effort, but if you want a smooth and creamy cheesecake, it’s worth it.
Bring the cream cheese to room temperature before use. Softened cream cheese yields a smooth, velvety, and lump-free cheesecake. Also, you’ll want to use full-fat cream cheese for a creamier cheesecake.You’ll also want the eggs to be at room temperature, so they blend easier with the rest of the ingredients.Beat the ingredients on low speed to avoid over mixing. Over-mixing will aerate the batter too much, which can lead to cracks. Also, mix just until the ingredients are well-combined. Don’t over bake the cake, as this can also lead to cracks. Just bake until the edges have set, and the center is still a bit jiggly. Don’t worry, it will set and firm up as it cools.Let your cheesecake cool completely. You can even leave it in the oven for 30 minutes to an hour post-baking with the door open. This allows the cake to continue baking and cool at a gradual pace. The slow cooking process will also prevent cracks.If after all your efforts, the cheesecake still cracks, don’t worry about it! There are lots of cheesecake toppings to choose from. They won’t only hide the cracks, but will also make your cheesecake even more phenomenal.Resist the temptation to grab a slice, even once it’s cooled to room temperature. You must chill the cake in the fridge for at least 3 hours to let it firm up. To ensure clean slices, use a sharp knife to cut the cheesecake and wipe the blade with a damp cloth in between slicing.
Best Toppings for Cheesecake
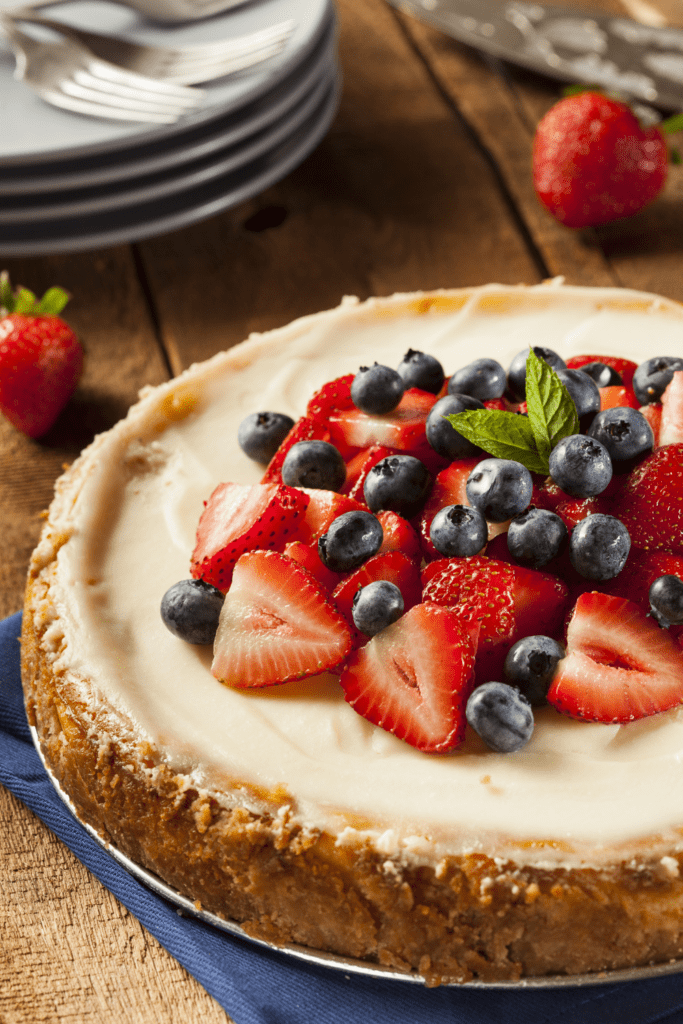
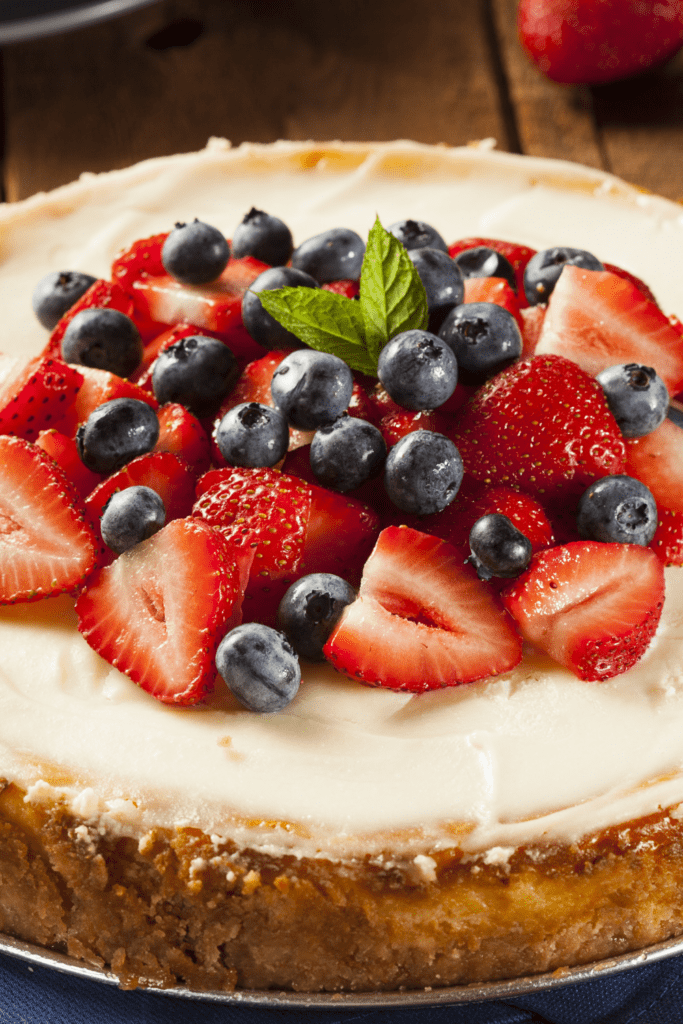
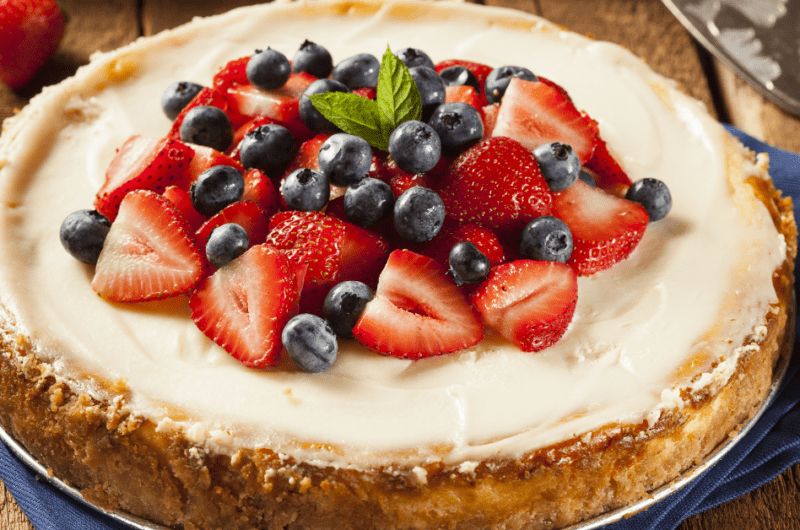
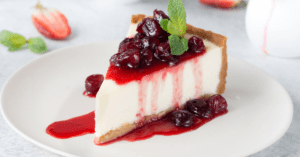
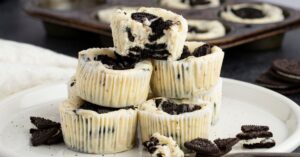
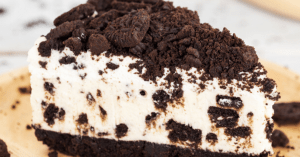
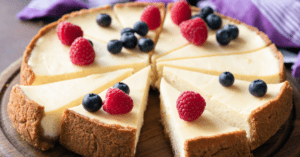
Now, for the fun part! Toppings are what make cheesecake look and taste even more mouthwatering. Here are some suggestions. Feel free to mix and match! Berries – You can’t go wrong with tart and sweet berry compotes! Whether it’s blueberry, strawberry, raspberry, your cheesecake will have lovely sweet, creamy, and fruity flavors. Crushed Candy – If you have a sweet tooth, nothing tastes better than crushed candies on top of a cheesecake. How do crushed Reese’s Peanut Butter Cups, Heath Bars, or Oreo cookies sound? Sauces – I’m talking chocolate, caramel, and peanut butter. Take your pick!
How Do I Store Philadelphia 3-Step Cheesecake?
Store the cheesecake in the fridge covered with plastic wrap for up to 5 to 6 days. You can also freeze it, but only when it’s not covered with toppings. Let the cheesecake cool completely and cover it with two layers of saran wrap and a layer of aluminum foil. Let it thaw in the fridge overnight before serving. Frozen cheesecake lasts for a month. 10 Click on a star to rate it!
Average rating 4.9 / 5. Vote count: 12 No votes so far! Be the first to rate this post.
Share on social media: Let us improve this post!