I still remember the day I first had it. I won’t bore you with the details, but let’s just say, I have eaten way more slices of this pie than I care to admit. To me, it’s one of the world’s best desserts ever created. My life won’t be complete without it. I don’t know why it took me so long to realize that I can replicate it at home – and very easily so. When I did, I was so overjoyed, I actually felt my heart grow bigger! I cannot tell you how excited I am to share this recipe with you. Let’s get started.
Burger King Hershey’s Sundae Pie
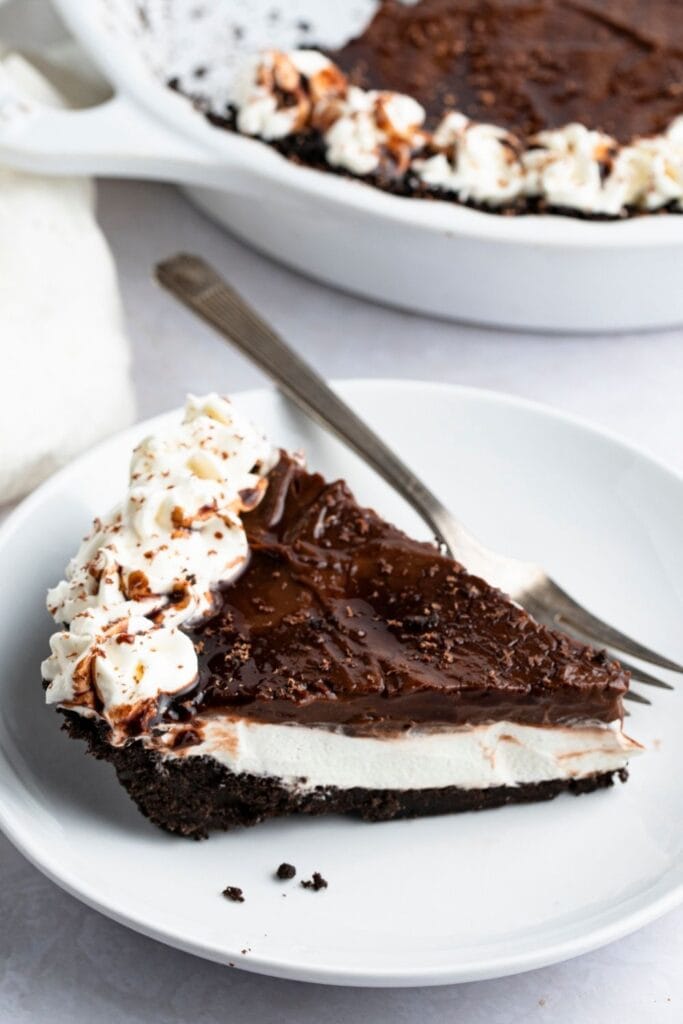
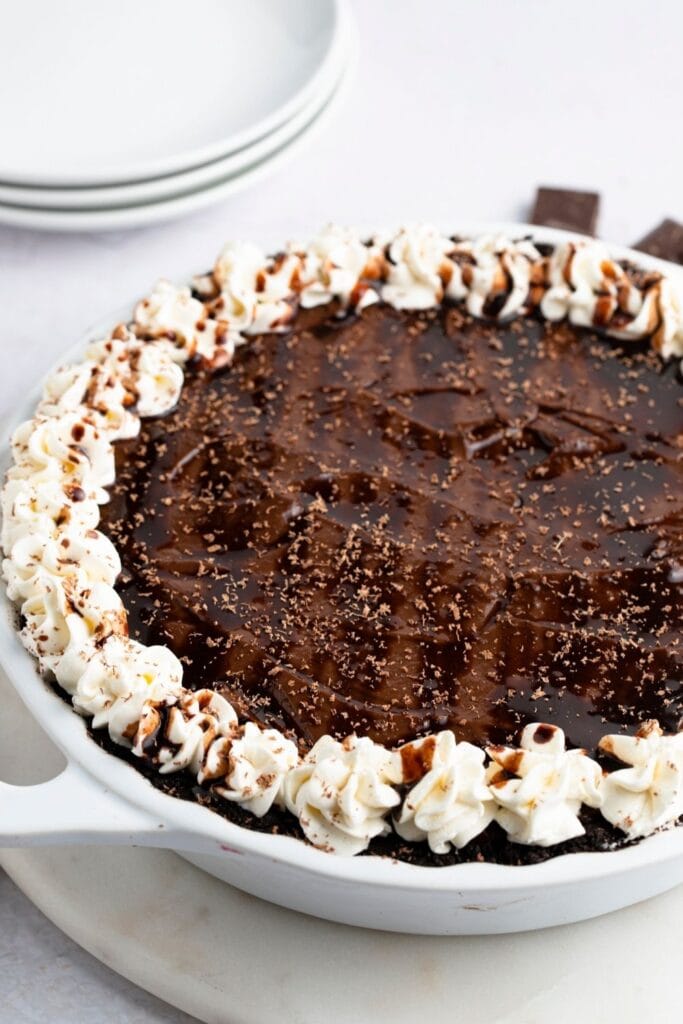
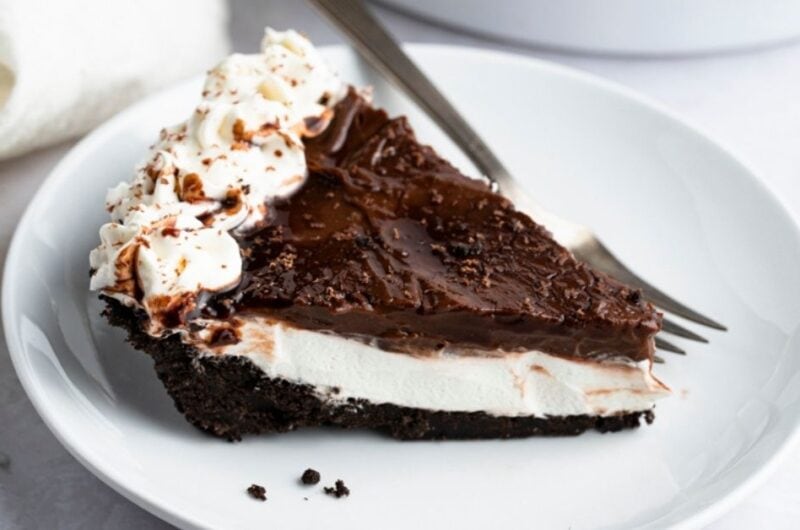
The Burger King Hershey’s sundae pie is a decadent dessert that tastes almost like a cross between a chocolate pie and ice cream. It has two beautiful layers – cream cheese and vanilla at the bottom, and chocolate mousse on top. Finished with whipped cream and chocolate shavings, this pie is every chocolate lover’s dream. As it is a no-bake recipe, even non-experienced bakers can easily pull this off. It’s literally as easy as pie.
What Is Hershey’s Sundae Pie?
The Burger King Hershey’s sundae pie is the ultimate definition of pie perfection. It has a crumbly and buttery crust, a layer of fluffy vanilla topped with chocolate mousse filling, and whipped cream and chocolate shavings on top. Served cold, the chocolate mousse tastes almost like ice cream. Together with the crust, vanilla filling, whipped topping, and chocolate shavings, it creates a phenomenal harmony of flavors and textures.
What Is Hershey Pie Made Of?
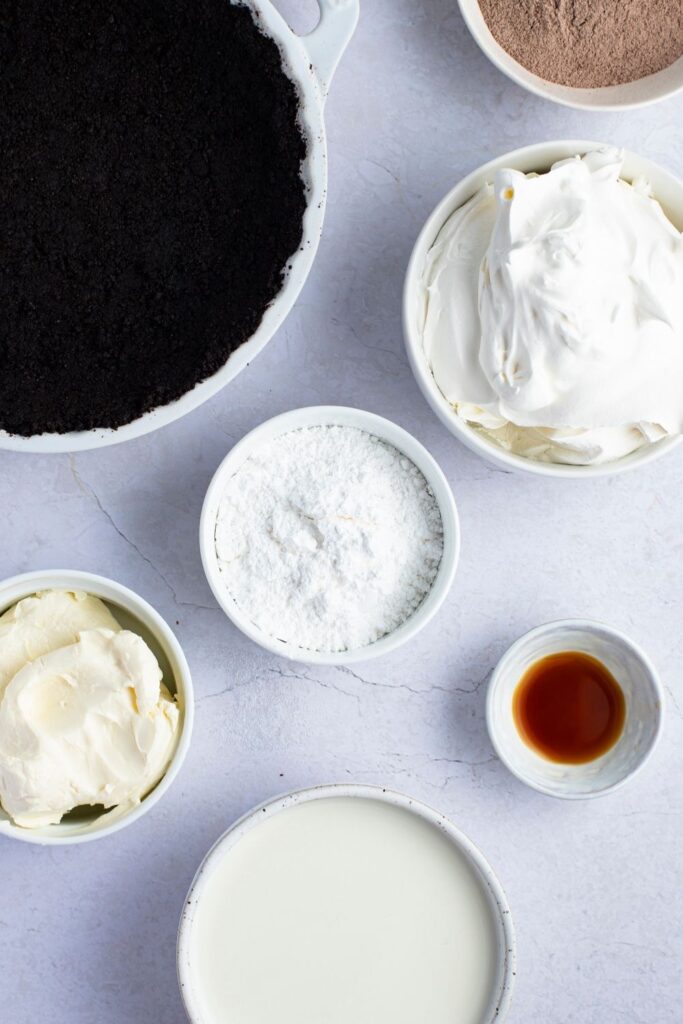
Chocolate Wafer Crust – This pie is chocolate on chocolate! You can use store-bought or make your own. Cream Cheese Layer, made of:Cream Cheese – Be sure it’s softened, so it’s easy to beat. Take it out of the fridge 30 minutes before using. If you forget, just pop it in the microwave for 20 seconds.Powdered Sugar – For sweetness. Do not substitute with granulated sugar, or you’ll get a gritty filling.Cool Whip – For a light and fluffy filling. Cream cheese and sugar alone will yield a heavy and dense layer.Vanilla Extract – Flavor enhancer.Chocolate Layer, made of:Instant Chocolate Pudding Mix – This is a copycat of the Hershey’s sundae pie, after all! Other chocolate pudding brands will work, too, but for best results, stick with Hershey’s.Milk – Whole milk or half and half both work.You’ll only need 1 1/2 cups of milk, unlike what is specified on the box. This way, the pudding will have the perfect pie filling consistency.Cool Whip and Chocolate Chips – For garnish.
Can I Substitute Cool Whip in this Pie?
For sure! In fact, freshly whipped cream is a great deal better than Cool Whip. It takes more effort, sure, but it’s worth it. Here’s how:
Ingredients
1 1/2 cups heavy whipping cream 1/3 cup powdered sugar
Directions
In a large, metal bowl, add the heavy whipping cream and powdered sugar. Beat them together at low speed for 1 minute. Gradually increase the speed to high and beat for 4 more minutes, or until stiff peaks form. Refrigerate the mixture until ready to use.
Tips:
Refrigerate or freeze the bowl and whisk attachments for 30 minutes before whipping. This will ensure maximum whip!Double the recipe so you have enough for the first layer of filling and the pie topping.“Stiff peaks” means the whipped cream creates peaks when you lift the beaters. They should be stiff enough that they are able to stand up straight and hold their shape.
Tips for the Best Pie
For the most accurate Hershey’s sundae pie replica, use Hershey’s chocolate pudding and chocolate chips. If you must use other brands, pick ones of good quality, such as Ghirardelli and Callebaut.Want a lighter chocolate filling? Beat the chocolate pudding with whipped cream until fluffy.For a deeper, chocolate flavor, add a shot of espresso to the chocolate pudding. Don’t worry, it won’t taste like coffee at all. All it does is enhance the flavor of the chocolate.Garnish the pie as you please. You can go the easy route and simply dollop the Cool Whip all over the pie, or make it pretty by using a piping bag and tip.
For the chocolate, you can use chocolate chips or curls. Just take a chocolate bar and curl it with a cheese grater or vegetable peeler.
Waiting is almost unbearable, but you have to, for at least 2 hours. Otherwise, the pie won’t set, If you don’t mind a runny slice of pie, though, by all means!For smooth, clean pie slices, wipe the knife with paper towels in between slicing.Refrigerate the pie for up to 5 days, or freeze for up to 2 to 3 months. Slice it before freezing so you won’t need to thaw the entire pie when all you want is a slice.
Freeze the slices for an hour. Double wrap them with plastic wrap and aluminum foil, place them in freezer-safe bags, and freeze. Thaw in the fridge overnight before serving.
Recipe Variations
My recipe calls for a pre-made chocolate wafer pie crust, but feel free to make your own. This Oreo crust tastes great with chocolate!Use mascarpone instead of cream cheese for a lighter filling.Instead of a cream cheese filling for the first layer, make it all chocolate! Here’s how:
Chop 9 ounces of chocolate, preferably Hershey’s bars. Place the chopped chocolate in a microwave-safe bowl, and microwave for 1 minute. Stir until it’s smooth and melted. Microwave at 30-second intervals if needed. Beat the melted chocolate with 8 ounces of whipping cream or Cool Whip until smooth and fluffy, about 5 to 7 minutes. Note: This recipe works with either dark, semi-sweet, or milk chocolate. I find that white chocolate is way too sweet, though, but it’s completely up to you!
Using the same recipe as above, add peanut butter instead of melted chocolate. Top the pie with peanut butter chips or crushed peanut butter cups. You can also add these toppings to the filling. For a boozy twist, infuse the chocolate pudding filling with 1/2 cup of Bailey’s Irish Cream. Top the pie with crushed nuts, M&M’s, peanut butter cups, Heath, Oreo cookies, or other candy bars. You can also add these to either layer of filling.You can also sift cocoa powder over the whipped cream for a rustic look. Or, drizzle it with chocolate ganache.
Melt equal parts cream and chopped chocolate bars in the microwave for 1 minute. Stir it until completely smooth and melted. Microwave some more at 30-second intervals if needed.
How to Make Your Own Oreo Crust
Ingredients:
3 cups Oreo cookie crumbs 6 tablespoons melted butter
Directions:
- Grease a 9 1/2-inch pie pan with butter. In a bowl, add the Oreo cookie crumbs with butter and mix until it forms a wet sand-like mixture.
- Using a measuring cup, press the crust mixture into the bottom and up the sides of the greased pan.
- Refrigerate the crust while preparing the filling layers.
Tips
If all you have are actual Oreo cookies, just pulse them in a food processor until crushed. Or, place them in a Ziploc bag and crush them with a rolling pin. You can leave the filling or remove it – totally your call.This recipe also works with graham crackers, Nilla wafers, and other shortbread cookies.
More No-Bake Recipes You’ll Love
No-Bake Peanut Butter PiePhiladelphia No-Bake CheesecakeNo-Bake Oreo CheesecakeEskimo CookiesNo-Bake CookiesMason Jar Desserts
Click on a star to rate it!
Average rating 5 / 5. Vote count: 5 No votes so far! Be the first to rate this post.
Share on social media: Let us improve this post!


